
Making new life lines during the wonderful and varied Mad Beach sunsets
A couple of years ago we went from rusty wire rope on our life lines to Endura Braid. It was a learning experience as we tried core to core splicing. Over time a couple of these have started to slip.

I love the Endura Braid. It has a good hand and is stronger than steel. The double braid style has a great protection layer over the core Dyneema. The halyards I put on svGeminiDreams almost 5 years ago still feel and look great. If utilized correctly the cover will add months or years to the lifelines.

New style Johnson life line fittings. An upgrade that cost $100.
Making the protected Endura Braid (doublebraid) Brummel splice type A (both ends available) at the gate end is exactly like a Brummel in single strand Dyneema except with a little extra stuff in the way.

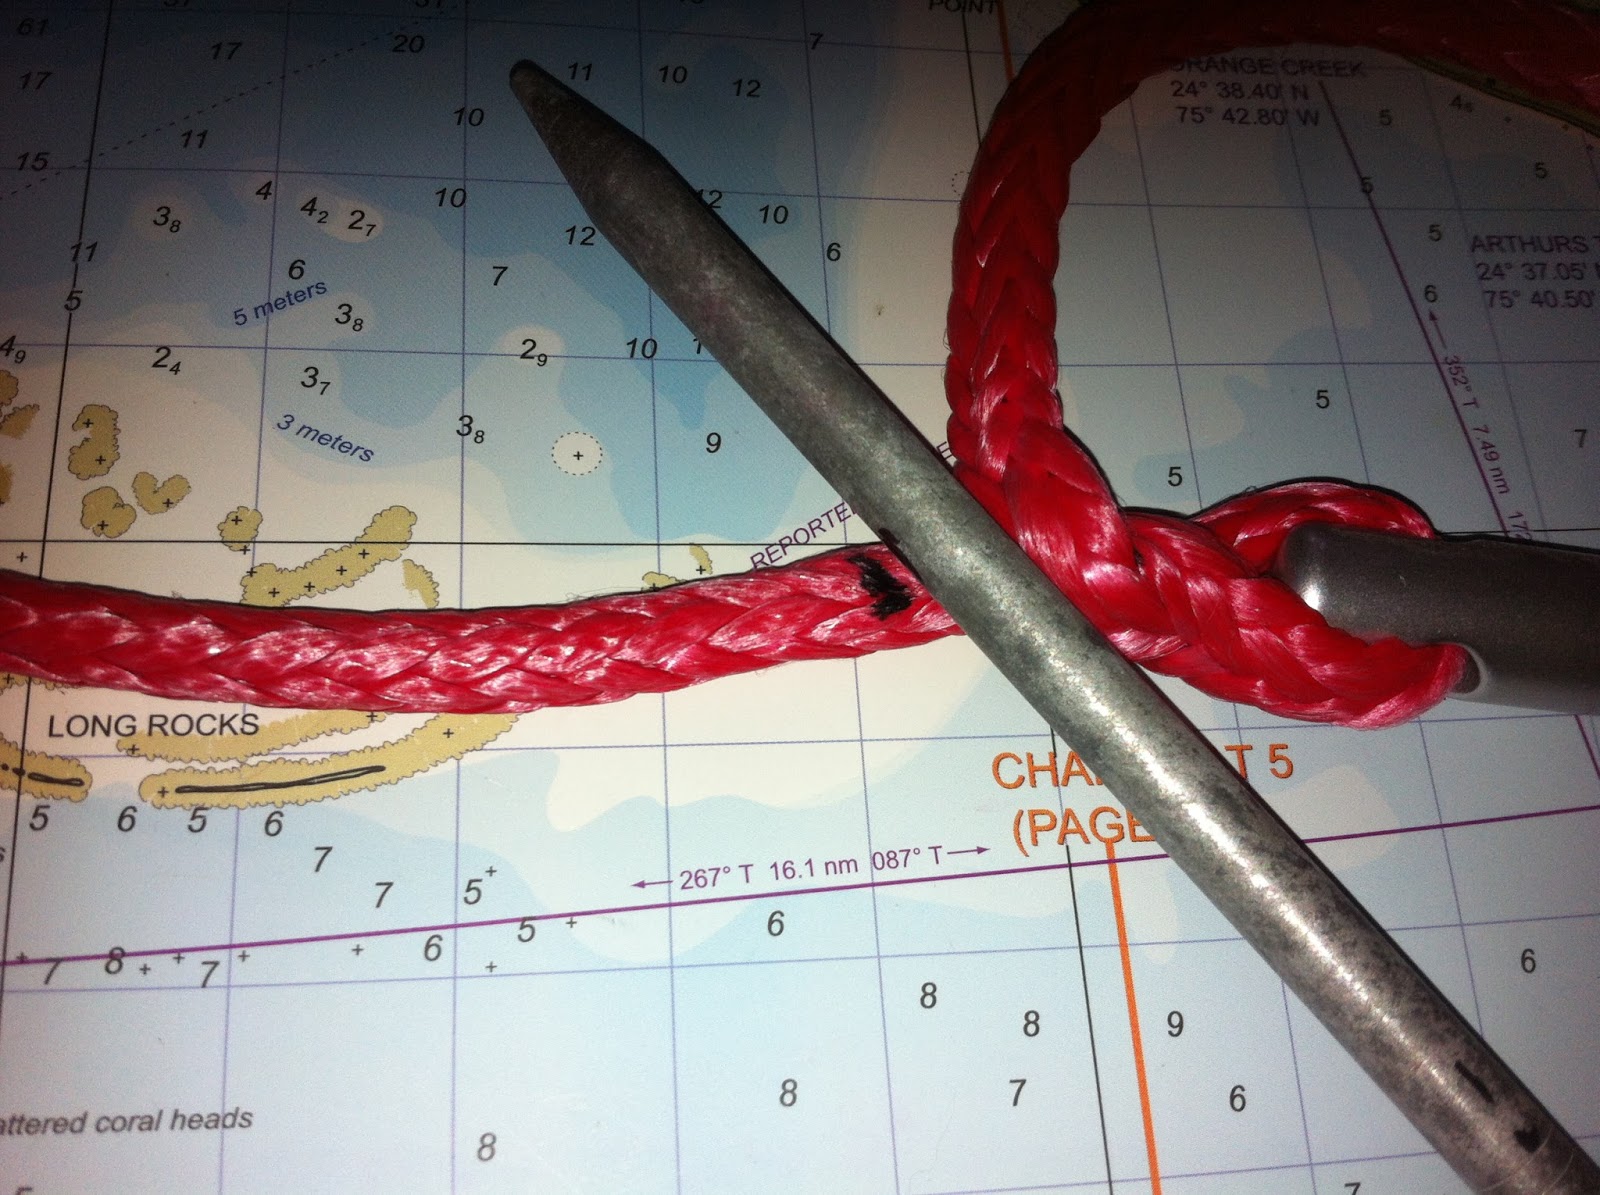
Mark cover 20 inches from the bitter end and remove core at mark.

Make a mark 2 1/2 inches toward the double braid end
on the core from where the core was removed (bruised section).

This is where the fitting will be set.
This gives enough sheath to cover the increased diameter of the bury
(not necessary if you have to leave the Brummel exposed for inspection by racing officials).
(Please check the rules to see if you can use the double braid.)

Mark both sides of line as it crosses tight to fitting.
Mark A near bitter end. Mark B on double braid end.

Insert fid into mark Band pull tight until mark A is inside line at mark B
6 strands on each side of the Fid!

move fid to double braid end of line

make a mark C one fid width from cross over of mark A and mark B on bitter end

Split line and pull double braid end, including tail, through mark C
6 strands on each side of the Fid!

Return the fid to the bitter end
Push double braid sheath down away from splice at least 2 feet
Make a mark D one fid width up the double braid end from where it pulled through mark C

Insert fid with bitter end into the hollow center of the double braid end.
Exit the hollow center 2 feet from mark C

The double braid end should be bunched up over the bitter end as shown
Do not let the bitter end tail slip back in

Mark every 1/2 inch from the bitter end

Taper core 1 strand every 1/2 inch

Your Brummel splice is all complete.

If you are racing check with the stewards you may need to stop the cover here.
If so stitch the double braid in place and whip a finish.
Carefully cut excess double braid away.

If you only cruise milk the sheath all the way to the end.
Stitch the double braid cover in place and whip a finish.
Carefully cut the excess double braid away

Complete Brummel Double Braid spice for lifelines.
At this point you could cover the bare loop with
heat shrink or rigging tape if you want more protection

Your Life Is Hanging By A Thread, Part B, Making the protected Brummel splice type B at the tensioner end coming soon.
Albin Vega 27 s/v Gemini Dreams
W
No comments:
Post a Comment